

Imposing Features
Imposing Features
Behind the Scenes, page imposition, zine layout, saddle stitching and more!

Here we have another of my twitter thread roll-ups. I’m becoming increasing disillusioned by social media. It’s great to connect, but I can’t help but feel like I’m being exploited for the gain of large corporations. Returning back to the self-directed opt-in nature of Web 1.0 is appealing, and this newsletter shows that. Thank you for subscribing, and I value your interest. Feedback is welcomed at andy@berdan.ca for any reason, and I reply to any human. And some bots, if they’re funny enough.
This is a follow-up to the previous Behind the Scenes post about Affinity Publisher, available to read here: https://berdandy.substack.com/p/automated-card-layouts, though I think it stands up well enough on its own.
I was originally planning to publish this in March, but as ZineQuest 2 takes place this month, I thought it’d be more useful a little early for those participating.
Exporting individual pages is quite useful for other print services, like Blurb/MagCloud. To repeat the last post, you can do your work in Affinity Publisher using spreads for easy visualization, and then upon export, automatically break up the spreads into individual pages for printing. That’s done by choosing “All Pages” in the PDF export options.

But, sometimes, we don’t actually want individual pages, like a manuscript stack of paper. When making booklets or pamphlets or zines, it’s extremely handy to just print two pages, organized in such a way, that you can fold and nest them, staple the center with a longarm stapler, and you’re done.
This is what I did for Mic Drop prototyping.
Side note: that if you have font issues, they can happen at this stage, causing failed exports/crashing. It’s a pain to find the culprit font because in the version of afpub I was using, the export errors didn’t surface easily.
There’s a lot of extra functionality that can be used for exporting PDFs, for print-and-play cards or booklet imposition. However, they’re NOT in the export flow. They’re in the print flow.
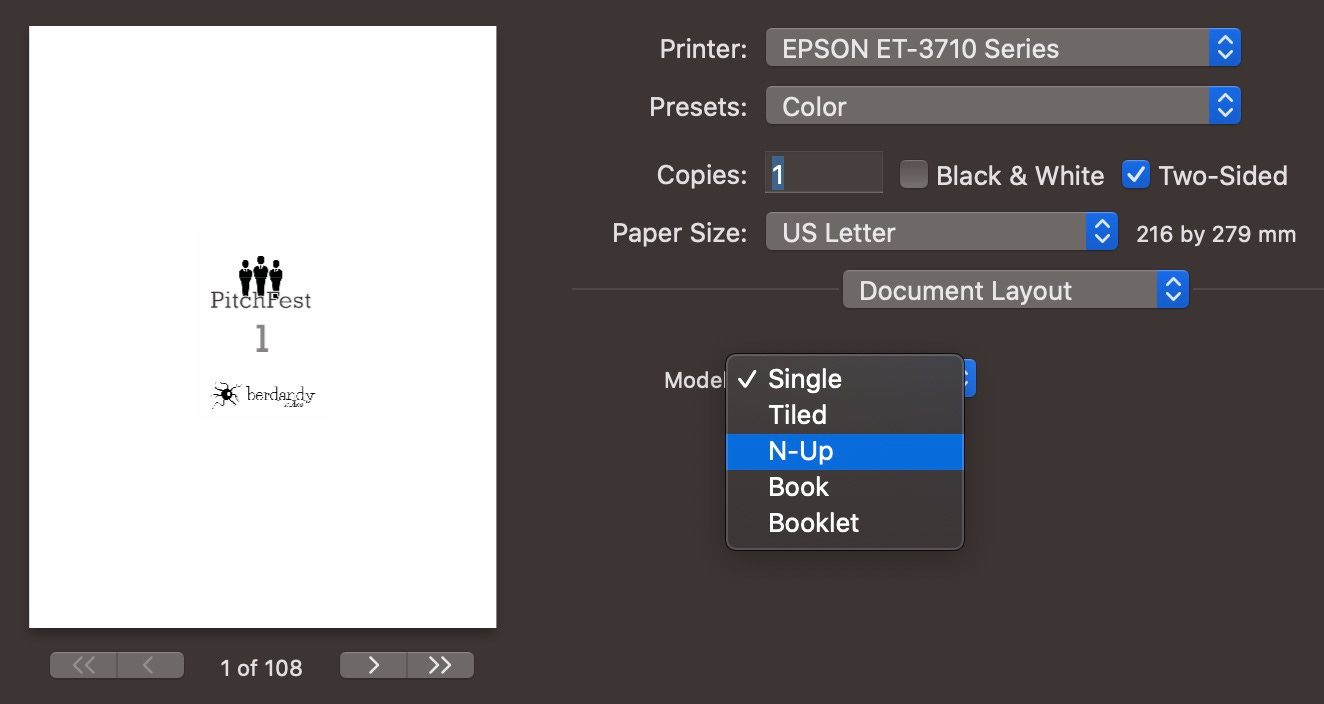
For this, I’ll be showing MacOS options. The print dialog in Windows will be notably different, but the same options should exist. The important bit is the Document Layout options. Let’s start with print-and-play cards. For that, we want N-Up:
Once you have N-Up selected, you can adjust all sort of things: Adjust scale to fit in crop marks. Print only the front faces — even pages — of the cards (for sleeving).

Adjust margin to accommodate various printers.
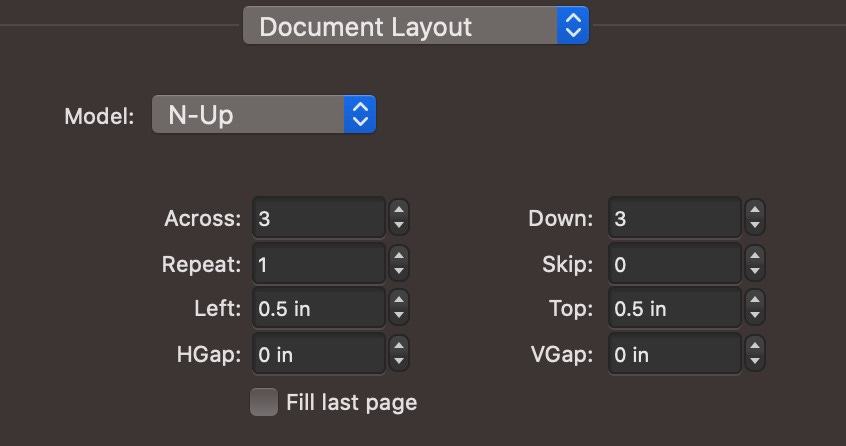
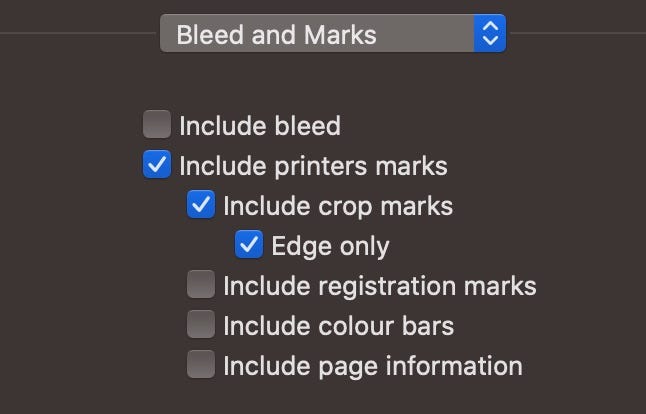
Turn on crop marks for cutting.
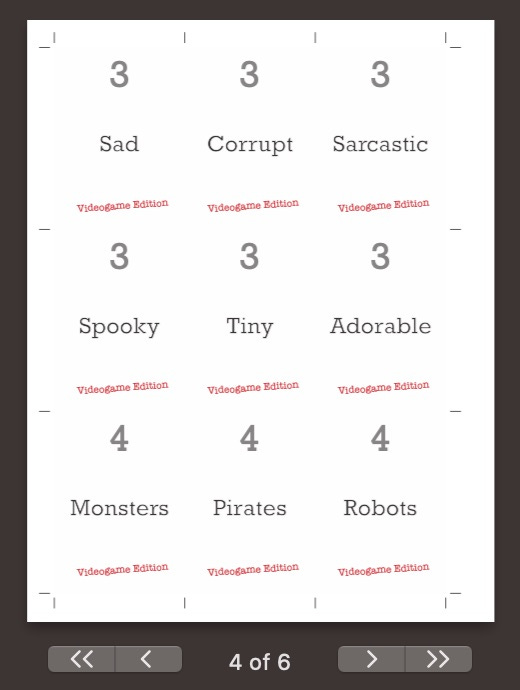
This handily gives you a 3x3 layout on US Letter paper. You get 54 cards in 6 pages. There’s a bunch of x-acto/guillotine cutting to do, but it’s totally doable for play testing or a print-and-play PDF. Here’s a tiny sample from PitchFest: Videogame Edition
Building on these options, we then have the ability to do Booklet imposition. Those of you who remember saddle-stitched zines will know what I’m talking about. Think of it like printing a half-sized page on a piece of paper, then folding it in half… except printing more than one page. You nest them inside each other, and staple them in the middle with a longarm stapler.

Side note hack: if you only have a normal stapler, you can do this by putting your booklet on a few layers of cardboard, use your stapler in a open position, and staple directly through all paper layers into the cardboard. Carefully pry the booklet off the cardboard leaving the staple in place, and ‘fold’ the staple legs inwards with a butter knife. It’s slow and a pain, but if it’s all you have, it does work.
With Mic Drop, I wanted to see how it would look with an ultra-high gloss print on a borderless photo printer (spoiler: it was gorgeous, but turning pages was oddly squeaky). I was able to get the results I wanted using the Booklet layout. Pages are imposed to allow folding and stapling:
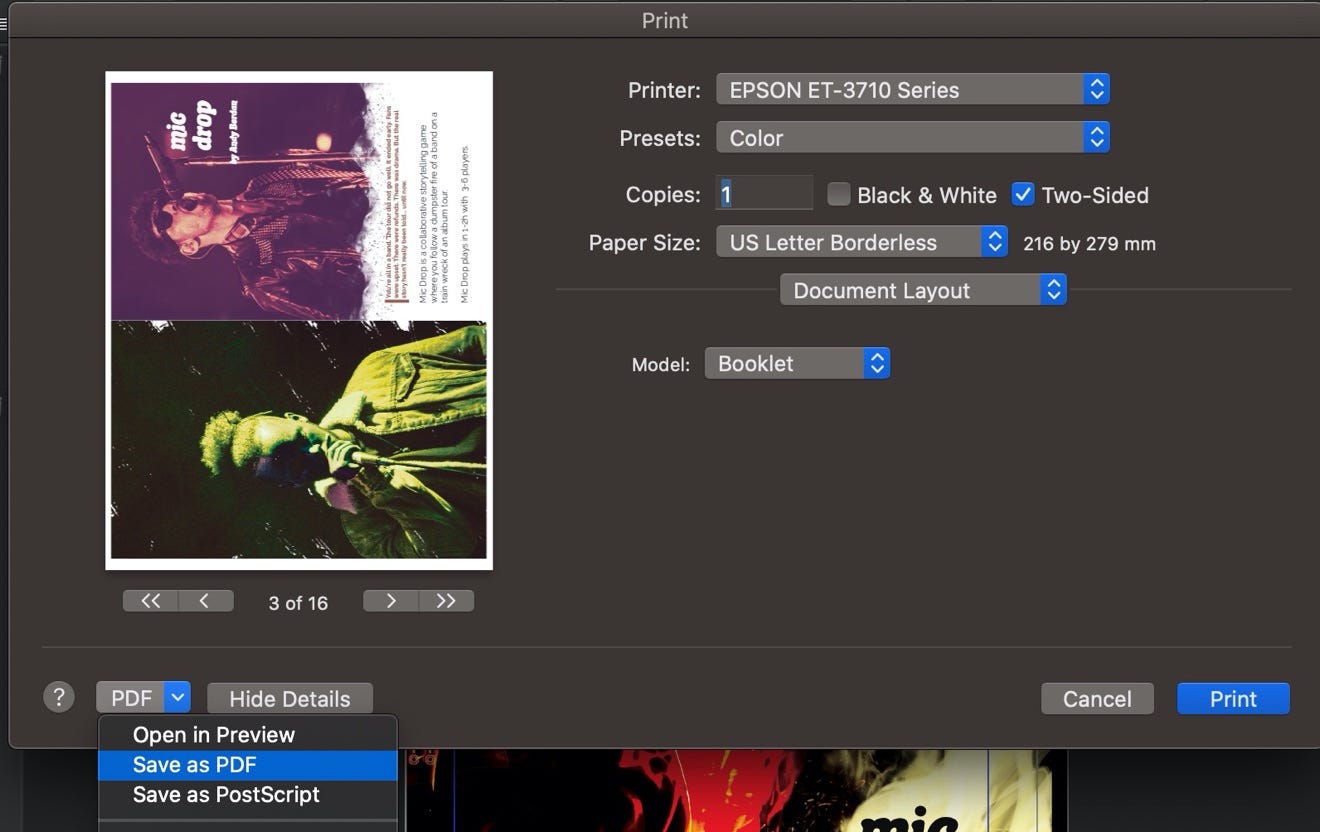
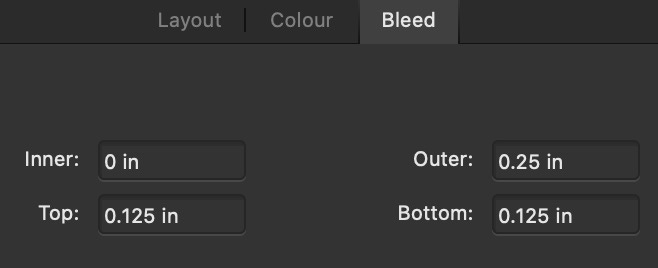
Oops! See that white outline on the preview?
I forgot to turn on the bleed on print. That will remove the white border, as the document is set up as 5.25x8.25 + bleed to make it match exactly a half-page layout. This works well with a borderless printer… or for just rough prints.

And there you have it. Lots of meaty info about making card and booklet prints with Affinity Publisher. Booklet imposition is an incredibly useful feature for making prototypes and zines, and should be quite useful in the upcoming #ZineQuest 2 on Kickstarter. If this information helps you make something, please drop me a link (andy@berdan.ca), I’d love to check it out!
Also, if any of these preview images piqued your interest, check out my games from Berdandy Studios. Mic Drop, PitchFest and other games are currently available at http://berdandy.com/
If someone shared this newsletter with you, consider subscribing to never miss an update from Berdandy Studios: https://berdandy.substack.com